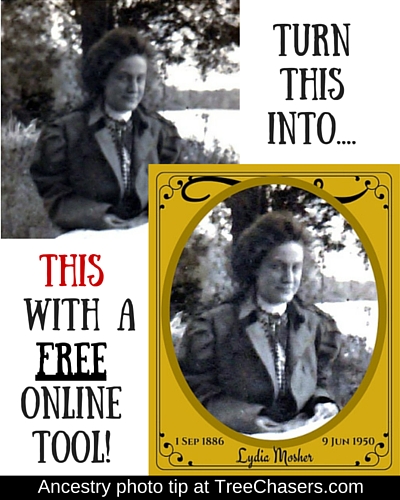
 You’re going to fall in love with this easy, FREE, photo tool for your family tree projects. I’ve been using it for years for all kinds of things and prefer it over other, complicated paid tools any day.
It’s called Canva and you can register for a free account and then upload, edit, enhance, filter, and crop photos. Besides being able to edit photos you can also dress them up with a large selection of elements, fancy text, frames, illustrations, backgrounds, lines, and shapes.
Once you’ve created an image, you can then download it for use on the internet, in PDFs or for creating your own virtual family tree scrapbook.
Photos can be downloaded as jpeg, png, or in PDF format. You can also share them on Facebook, Twitter, or by email with the push of a button.
Better still, you can create a copy of any previous creations in your Canva dashboard and then swap out the photo or text. Suppose you’re creating a PDF of your ancestry that you want to print out for relatives and you want all the photos for one surname to have the same background and text. You’d create the first photo, save it, then create a copy in your dashboard and replace the photos for each subsequent family member. No need to start over! This is a huge time saver.
In my example, I have this picture of Lydia Mosher – the second wife of my great-grandfather. It’s such a pretty photo but all I have is a digital copy:
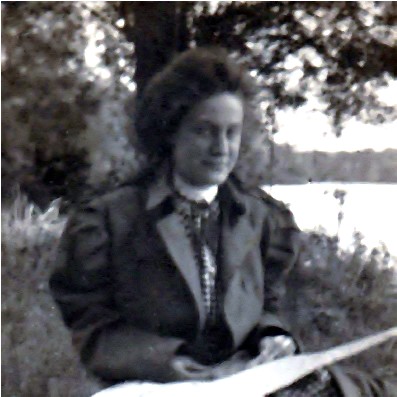
Lydia Mosher
I want to create a PDF that contains our family tree back several generations, include any photos I can to make the PDF more interesting and then share it with my nieces and nephews by email.
Old photos are always so intriguing but by themselves I think they’ll just look kind of blah in the book. Canva comes to the rescue with click and drag options for turning Lydia’s photo into this:
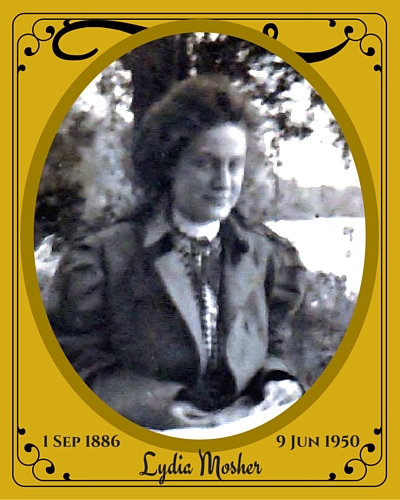
Decorated ancestry photo of Lydia Mosher
Here’s how it’s done:
Create your account at Canva.
You should land on your dashboard and then choose the option to “Use Custom Dimensions”:

I chose to use 400px wide by 500px tall for this project. Enter your dimensions and click the “Design” button:

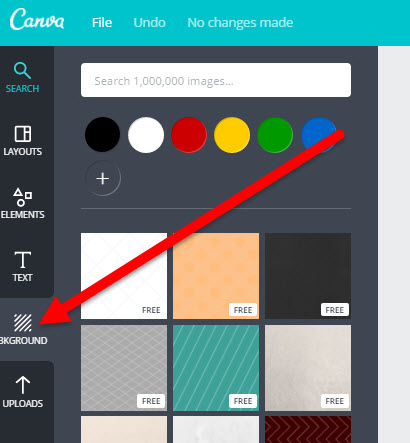
Click on the Background tab on the left and then choose a color or template:
Click on the Elements tab and then the Frames icon:
![]()
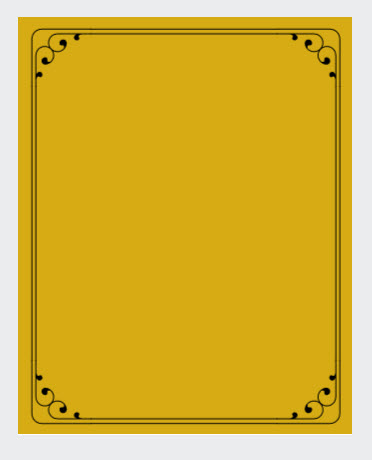
If you scroll down far enough, you’ll find some simple scroll frames and I chose one of those to give some decoration to the edges of the canvas. Click on any frame to add it to your photo:
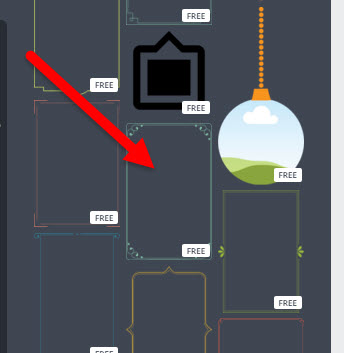
If you click on the frame while it’s on your canvas you’ll see options for changing the color and you can use the handles on the sides or corners to make the frame fit better. Also, pay attention to the dotted lines that show up on the image – those tell you when you’ve vertically or horizontally positioned your frame. This comes in so handy – no guessing about whether or not you’re really centered!
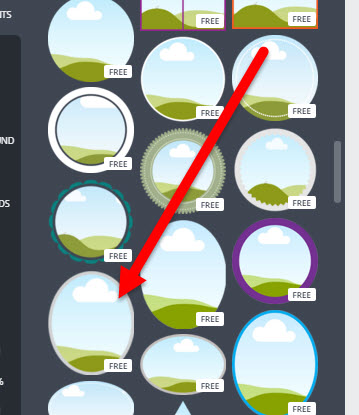
Scroll back up in the list of frames on the left you’ll see a number of them have a white, blue and green mountain sort of scene in the center. Any of those frames are ones where you can insert a photo. Find one and center it into your canvas:
Click on the Uploads tab on the left and choose to upload your own photo:
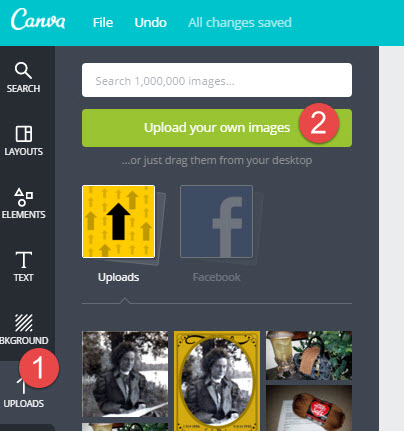
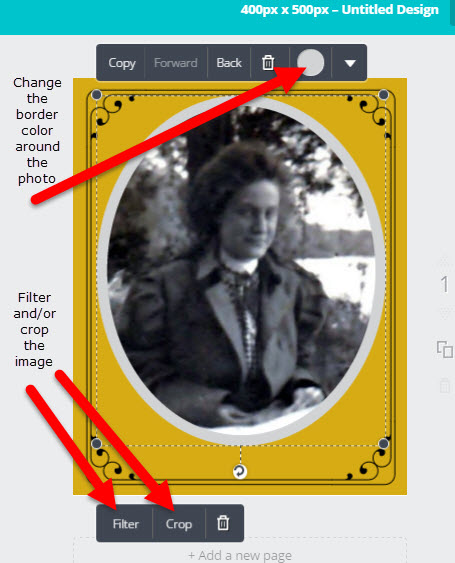
When the photo has loaded, click and drag it on top of the photo frame spot in your canvas (to the spot that says “drag a photo in here”). The photo will automatically be positioned inside the frame and you’ll see tools for changing the color of the border around the photo and tools for filtering and cropping the photo. You can make the photo brighter, increase the contrast, add a variety of preset filters to age or improve the look and crop the image to get the right focus to show up in the frame:
To finish off your photo, click on the Text tab and add any text. I used the person’s name in the bottom center (which required I move the photo frame up some so I had room for the text) and then the birth date and death date on each side.
I also chose a scroll from the Elements/Lines tab and put that under the photo to sort of add more detail to the top.
Just remember that clicking on any element in the canvas will cause editing tools to pop up so you can click on the text to change its color, choose a different font or change the alignment from center to right or left.
Get creative! I’m not very artistic so if you have an ounce of talent you’ll be able to do something even better. You can also do multiple frames in a canvas – maybe put a wife and husband together on one background and use text to add their wedding date.
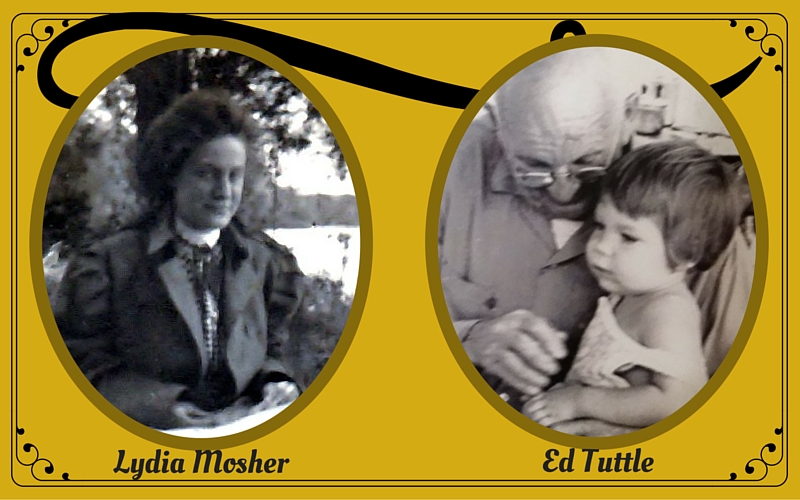
The people above are real relatives from my family tree – but they’re not really married – just an example of how you can put multiple people together in the same canvas.
If you blog at all about your family genealogy and share photos then use Canva to make them extra-special. With just a few minutes of work you’ll love how they look for your website, scrapbook, or PDFs!
